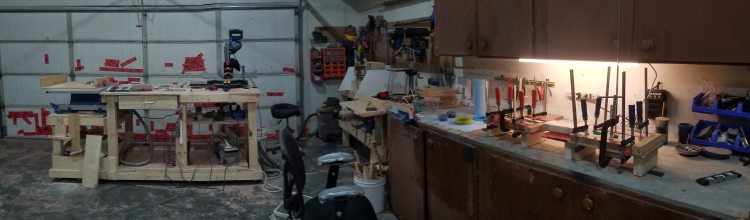
Working out of my garage, I’ve been collecting a variety of tools and techniques. Woodworking started as a pandemic hobby but has now turned into a real passion.
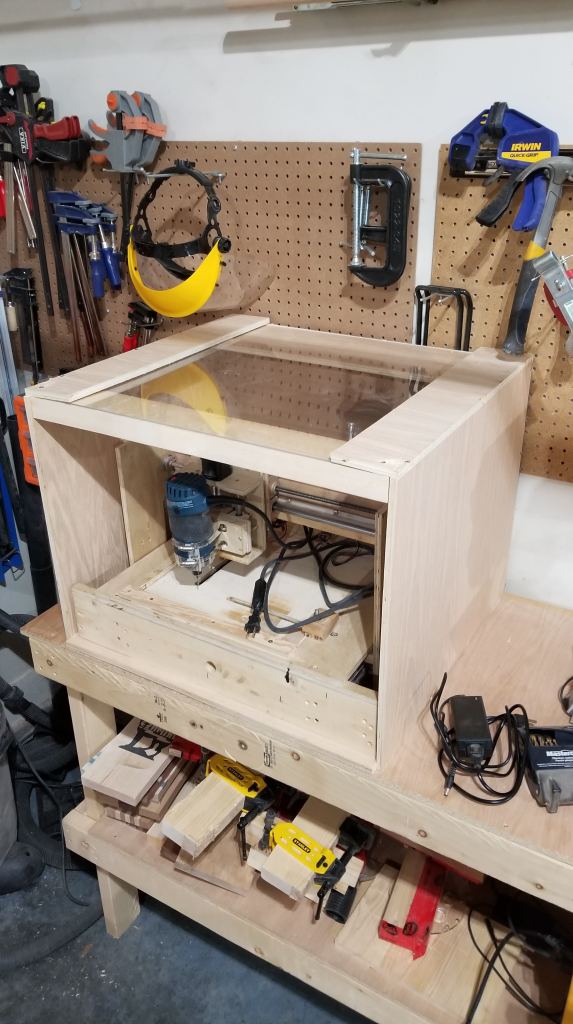
One of the first things I did to get this off the ground was to build my own CNC (computer numerically controlled) router. These can be thousands of dollars but with a couple of hundred of dollars of parts and a lot of YouTube videos and even more patience you can build something pretty functional.
This design lets me use both a router and a laser attachment for the projects I work on.
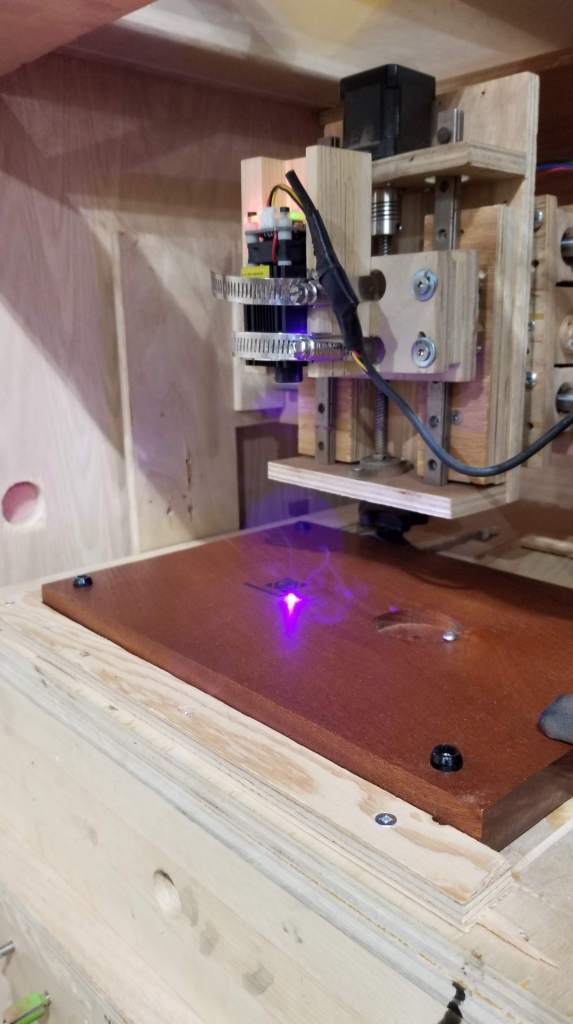
Not only can the CNC do routing work but the laser attachment opens up so many possibilities and designs. Here you see it burning my logo into the back of a cribbage board.
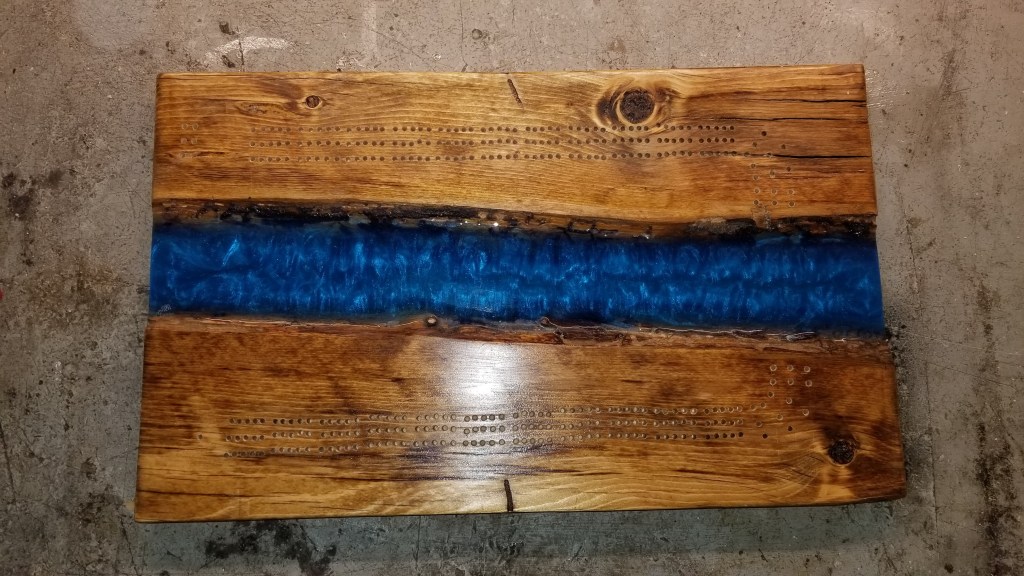
One of my inspirations to get into woodworking was a home reno show that showed how to build a ‘river table’ with epoxy resin. My earliest projects included ‘river boards’ using spruce planks that were otherwise destined for the firepit. This one here is board #1.
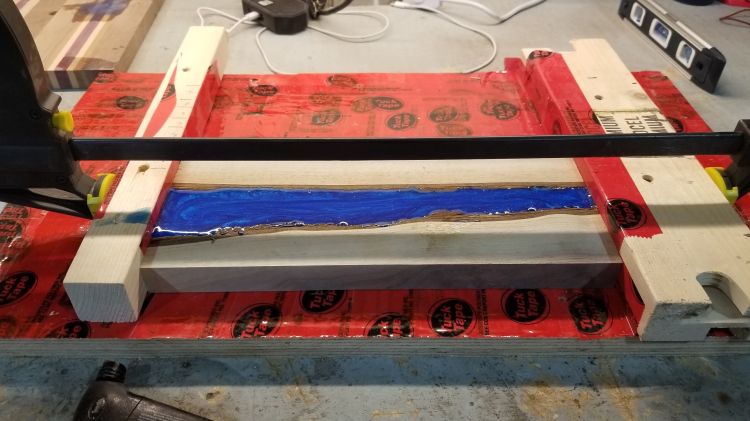
When making a river board, I take live edge pieces, cut the outside strips and invert them. I then have a wood ‘mold’ lined with Tuck Tape where the pieces are clamped down and colored epoxy poured and then left alone for a couple of days to let the epoxy set.
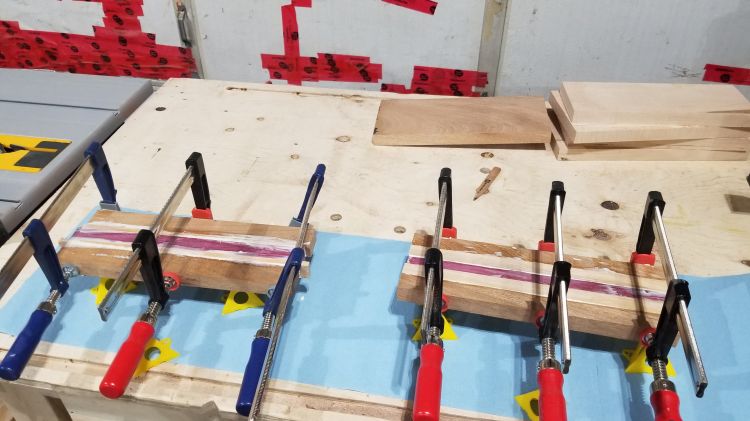
Another favorite design of board for me is laminating strips of hardwood together to come up with a nice contrasting design for the board. This process is relatively straightforward with the only limitations really being the ability to pick colors that go together. The pieces are cut to size, glued together and then planed down to smooth before drilling the holes and finishing.

The CNC router offers a lot of options for design. Here you see the CAD (computer aided design) rendering of my design and the semi-finished product.
The Making Of an Epoxy Design Board

Using the CNC router I carve out a design.

I then mix some epoxy resin with hardener. This specific brand requires a 1:1 mixture
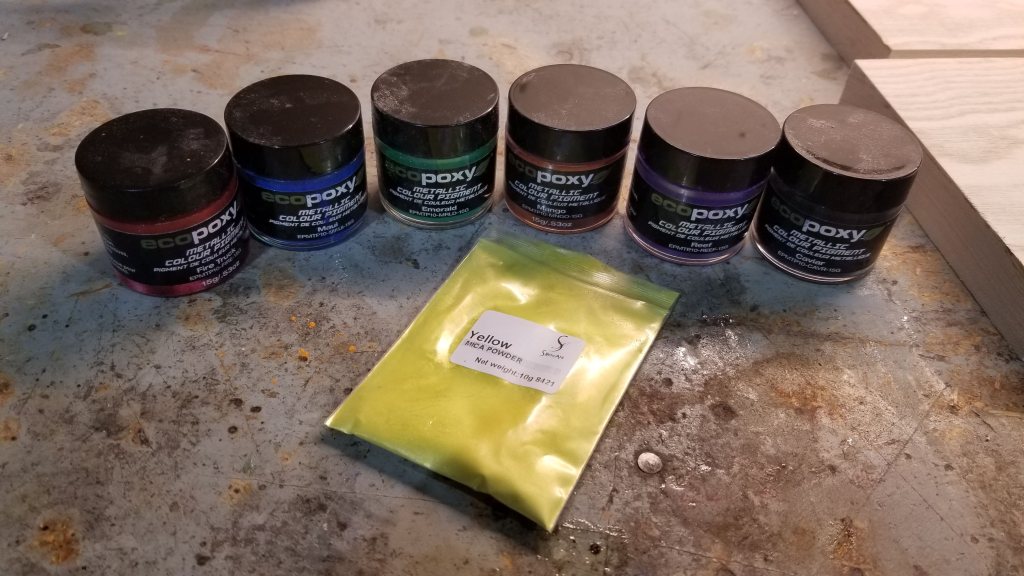
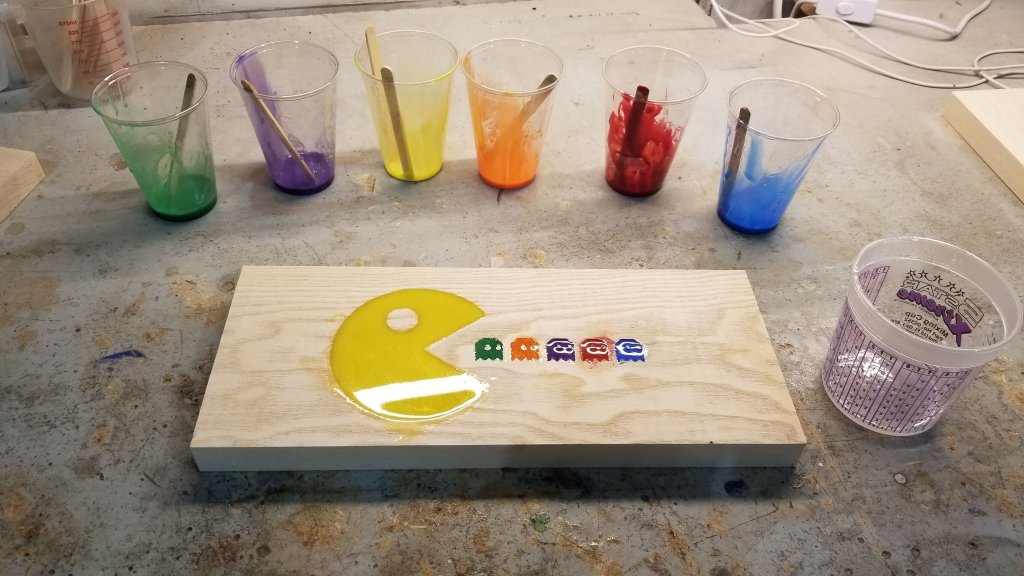
Now it’s time to pick the colors that I want to mix into the epoxy that will be poured onto the board design.
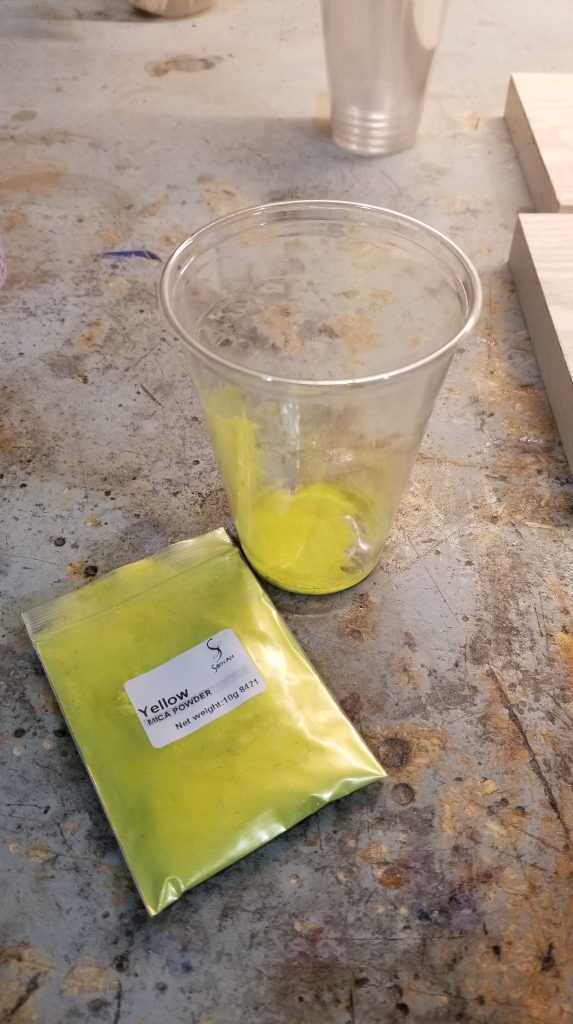
Mixing the colored powder to the mixed epoxy provides a colored epoxy. If doing multiple colors in one design it’s best to use disposable cups.

Now comes the pouring. Care needs to be given when doing this so you don’t make a big mess, especially if doing multiple colors at once so they don’t drip or bleed into each other.
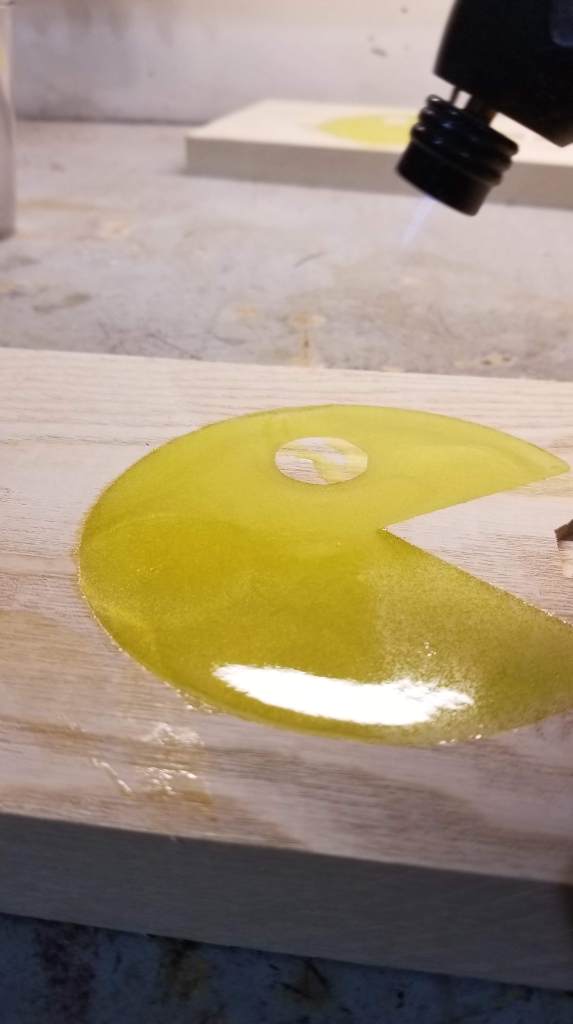
Using a small torch, I pop the bubbles that would have formed during the resin/hardener mixing. This is essential, especially the deeper the pour.
Let sit for 2-3 days to fully cure
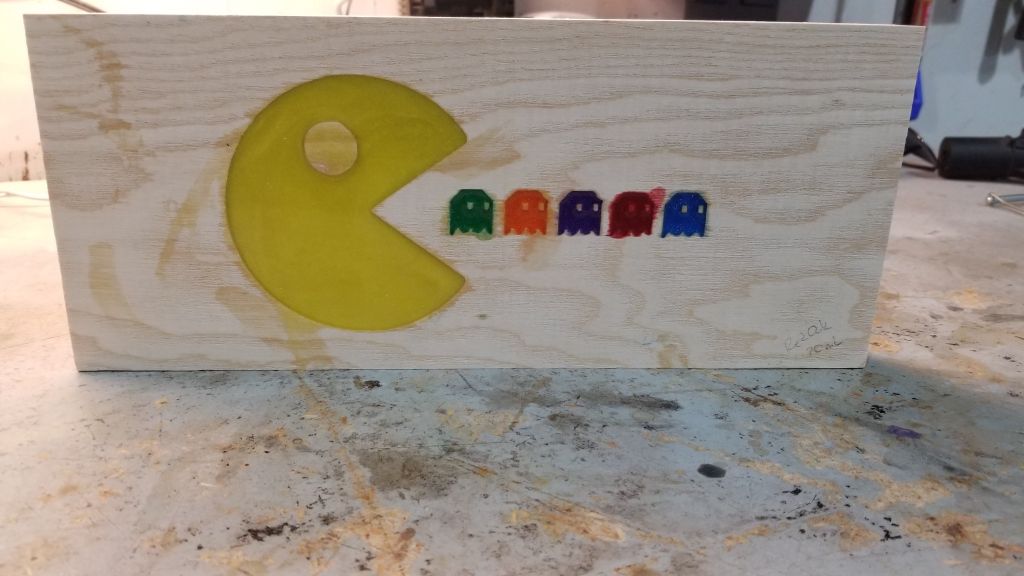
After 2-3 days the epoxy is fully cured and ready for sanding and finishing
